In summary:
- True repair mastery isn’t just following a tutorial; it’s understanding why manufacturers make phones hard to fix and learning to overcome those hurdles.
- Identifying and sourcing quality parts, from proprietary screws to certified batteries, is more critical than the repair itself to ensure safety and longevity.
- Your right to repair is legally protected in many places; « warranty void » stickers are often unenforceable myths designed to discourage you.
- Proactive maintenance and strategic upgrades (like custom ROMs) can realistically double your phone’s usable lifespan, saving money and the planet.
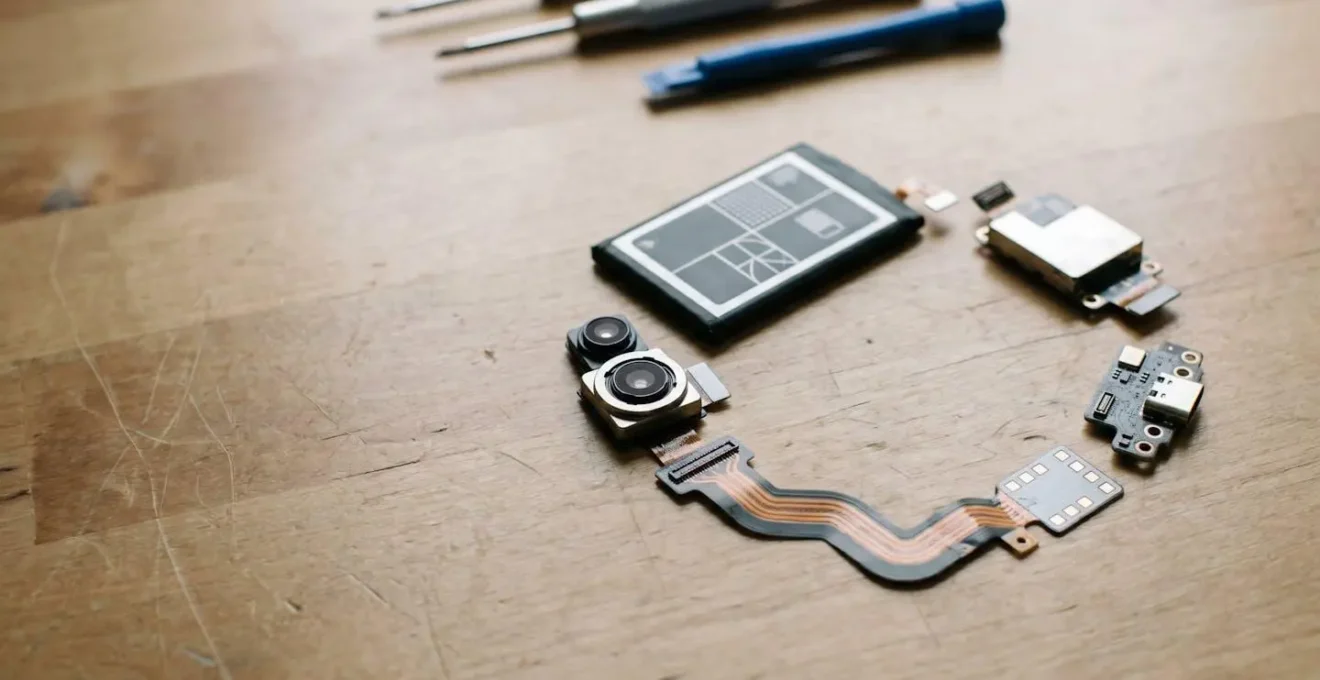
The frustration is universal. A charging port gets finicky, the battery life plummets, or a single drop shatters the screen. The conventional path leads to two expensive options: a costly official repair or, more often, a brand-new device. This cycle of use, break, and replace is the cornerstone of the modern electronics industry, a system that benefits manufacturers, not consumers or the environment. Many of us turn to DIY repair, hoping to break this cycle by watching a few videos and ordering a part online.
But this often just trades one frustration for another: the part is wrong, a tiny, unfamiliar screw blocks your path, or the « fixed » phone dies a week later. The common advice— »buy a kit, » « be careful »—barely scratches the surface of the real issue. These tips treat the symptoms of a much deeper problem: a system of planned obsolescence designed to make repair difficult, intimidating, and risky.
But what if the key wasn’t just learning how to swap a screen, but how to think like a technician? What if you could understand the entire system of repair—from decoding a manufacturer’s anti-repair tactics to vetting a parts supplier like a pro? This guide is built on that premise. We’re not just showing you the ‘what’; we’re explaining the ‘why’. We’ll deconstruct the barriers designed to stop you and give you the knowledge to build a sustainable, long-term relationship with your technology.
This article will guide you through the essential principles of the repair ecosystem. We will explore the deliberate design choices that make phones hard to open, the specific tools and knowledge needed to overcome them, and the critical decisions you’ll face when sourcing vital components like batteries. By the end, you’ll have a framework for not just fixing your phone, but for extending its life for years to come.
Table of Contents: The Technician’s Guide to Smartphone Repair
- Why some phones are easier to open than others?
- How to choose the right screwdriver bit for proprietary security screws?
- Original Battery vs Generic: is the savings worth the fire risk?
- The sticker myth regarding « warranty void if removed »
- How to re-seal a phone to maintain water resistance after a repair?
- Why does your charging port fail before the screen and how to prevent it?
- How to access the hidden diagnostic menu on your phone?
- Extending Your Device’s Usable Lifecycle: How to Keep a Smartphone Running Like New for 4 Years?
Why some phones are easier to open than others?
The difference between a 15-minute battery swap and a multi-hour nightmare is rarely accidental; it’s a direct result of design philosophy. A device’s repairability is determined long before it hits the assembly line. Manufacturers who prioritize sleekness and manufacturing efficiency over longevity often opt for designs that are actively hostile to repair. This typically involves using copious amounts of strong adhesive instead of screws, soldering components like charging ports directly to the main logic board, and creating sealed-unit designs that are nearly impossible to open without specialized equipment and a high risk of damage.
Conversely, a « Design for Repair » philosophy results in modular devices. In this approach, components are independent and easily accessible. A prime example is the Fairphone, which consistently achieves top repairability scores. Their devices use standard screws, provide clear visual cues for opening, and make spare parts readily available directly to consumers. This isn’t magic; it’s a conscious choice to empower the user. The difficulty of opening a phone can be quantified; repairability is a measurable metric, and a device’s score can range from 0 (unrepairable) to 10 (easiest to repair) according to iFixit’s repairability index. Before your next purchase, checking this score is as crucial as checking camera specs.
Ultimately, the use of glue over screws is a statement of intent. Glue is cheaper and faster for mass assembly, and it helps achieve higher water-resistance ratings with less engineering effort. But it shifts the burden of complexity and cost onto the repairer—or, more often, prevents repair entirely. A device held together by screws signals that the manufacturer acknowledges and respects the possibility of future intervention. A device held by glue often signals the opposite: a disposable product.
How to choose the right screwdriver bit for proprietary security screws?
One of the first and most frustrating barriers to entry in phone repair is the proprietary security screw. Manufacturers use these non-standard screws for a simple reason: to keep you out. Your standard Phillips or flathead screwdriver is useless against the pentalobe, tri-point, or security Torx heads that guard the internals of many modern devices. Attempting to use the wrong bit will, at best, fail to turn the screw and, at worst, strip the screw head, turning a simple repair into a potential disaster. Owning the right bits isn’t just a recommendation; it is the absolute prerequisite for any serious repair attempt.
To navigate this landscape, you must first identify the enemy. These screws are tiny and their patterns can be hard to distinguish with the naked eye. A magnifying glass or the macro lens on another phone can be invaluable. The key is to match the shape and size precisely. A « Pentalobe » is not a « Torx, » and a « Y000 » bit is different from a « Y00. »
As the image above illustrates, the geometric differences are distinct up close. Investing in a quality precision screwdriver kit, like those from iFixit or Wiha, is non-negotiable. These kits contain the specific bits needed for the vast majority of consumer electronics. Below are some of the most common types you’ll encounter:
- Pentalobe (5-pointed star): The infamous Apple screw. Used on the exterior of iPhones since the iPhone 4. You’ll need a TS1 (0.8mm) bit.
- Tri-Point (3-pointed Y-shape): Used internally by Apple to secure components like the screen and battery connectors, and also by Nintendo. Requires Y000 or Y00 bits.
- Torx Security (6-pointed with center post): Common in Android devices like Samsung. Look for T3, T4, or T5 bits with a hole in the center.
- Standoff screws: Specialized screws used to mount logic boards in iPhones, requiring their own unique driver.
Original Battery vs Generic: is the savings worth the fire risk?
The battery is often the first component to degrade, making it the most common DIY repair. It’s also the most dangerous. When you search for a replacement, you’ll be flooded with options, from « Original OEM » (often fake) to generic third-party batteries at a fraction of the cost. The temptation to save $20 is strong, but this is one area where cutting corners can have catastrophic consequences. A poorly made lithium-ion battery is not just a component that might fail early; it’s a potential fire hazard you’re putting in your pocket.
Original Equipment Manufacturer (OEM) batteries undergo rigorous testing and include sophisticated safety circuits to manage temperature, voltage, and current. Cheap generic batteries often cut corners on all three. They may use lower-grade cells, omit crucial safety features, or have poorly constructed connectors. The results of this are well-documented. In a comprehensive study by UL Solutions that tested over 1,200 samples from 33 aftermarket battery brands, numerous failed brands exhibited dangerous fire and explosion events during testing. This isn’t a theoretical risk; it’s a proven danger. That « great deal » on a generic battery is a gamble on the quality of its unseen safety electronics.
This doesn’t mean all third-party batteries are bad. Reputable aftermarket brands do exist, but they compete on quality and safety, not just price. As a technician, your job is to learn how to vet them. You must become a skeptical consumer, looking for evidence of quality control and safety certifications. A cheap price is a red flag, not a feature. Before purchasing any non-OEM battery, a thorough inspection and background check is essential to mitigate the significant risks involved.
Checklist: Vetting third-party smartphone batteries
- Safety Certifications: Check the battery and packaging for recognized marks like UL, CE, PSE, or IEC. No marks means no verified testing.
- Label & Print Quality: Inspect the text and logos. Sharp, clear printing is a sign of quality. Blurry text or incorrect fonts are hallmarks of counterfeits.
- Physical Weight: If possible, compare the weight to the original. A suspiciously lightweight battery likely has a smaller, lower-capacity cell inside than advertised.
- Connector Quality: Examine the connector. It should be robust and cleanly soldered. Flimsy connectors or messy solder joints are major red flags.
- Manufacturer Reputation & Warranty: Research the brand on repair forums like Reddit’s r/mobilerepair. Reputable suppliers offer a 6-12 month warranty, signaling confidence in their product.
The sticker myth regarding « warranty void if removed »
It’s a small, menacing sticker, often placed over a screw or a seam, bearing a clear threat: « Warranty void if removed. » For decades, this sticker has been one of the most effective and insidious tools in a manufacturer’s anti-repair arsenal. It works not through legal power, but through intimidation. The message is simple: don’t you dare look inside. It implies that the device’s internals are a forbidden zone, and that the simple act of exploration or self-repair will sever your rights as a consumer. This is, in many jurisdictions, a complete bluff.
In the United States, for instance, these stickers are illegal and have been for a long time. The Magnuson-Moss Warranty Act of 1975 gives consumers the right to open, modify, and repair their own products without voiding the warranty, provided their actions don’t directly cause the damage they are seeking warranty service for. As the pioneers at iFixit have long stated:
Under the 1975 Magnuson-Moss Warranty Act, the Feds mandated that you can open your electronics without voiding the warranty, regardless of what the language of your warranty says.
– iFixit, iFixit consumer rights documentation
The burden of proof is on the manufacturer to show that your repair attempt caused the failure in question. If your screen replacement leads to a camera failure, they might have a case. But if your battery replacement is followed by a charging port failure a month later, they cannot legally deny warranty coverage for the port simply because you broke the seal. Regulatory bodies are actively cracking down on this practice. For example, according to recent FTC enforcement, in 2024, warning letters were sent to 8 companies regarding these illegal practices, demanding they correct their policies. The tide is turning, but the myth persists because it serves the manufacturers’ goal: to scare you away from exercising your right to repair.
How to re-seal a phone to maintain water resistance after a repair?
One of the biggest concerns for anyone opening a modern smartphone is compromising its water resistance. Manufacturers often tout IP (Ingress Protection) ratings like IP67 or IP68 as a key feature, and they’re not wrong—it provides valuable peace of mind against accidental splashes or dunks. However, the moment you break the factory seal by removing the screen or back glass, that original IP rating is gone. The good news is that you can restore a high degree of water and dust resistance with the right technique and materials. The bad news is that it requires extreme precision and patience.
The key to a successful re-seal is twofold: meticulous preparation of the surfaces and using the correct adhesive. The original seal consists of a thin, die-cut adhesive gasket perfectly seated in a channel around the phone’s frame. Your first job is to remove every microscopic trace of this old adhesive. Any leftover residue will create a microscopic gap in the new seal, rendering it useless. This is a painstaking process that cannot be rushed. Once the surfaces are perfectly clean, you have a choice of adhesive.
Pre-cut adhesive frames specific to your phone model are the easiest to use, but they can be unforgiving if misaligned. Liquid gasket adhesives like B-7000 or T-7000 offer more flexibility and can create a stronger bond, but require a steady hand to apply a consistent bead. Regardless of the method, the final step is crucial: clamping and curing. The device must be clamped shut with even pressure and left to cure for 24-72 hours. Without proper curing time, the adhesive will not reach its full bonding strength. It’s also vital to set realistic expectations: a DIY re-seal can reliably restore splash and dust resistance for daily use, but it is highly unlikely to replicate the original IP68 « submersion-proof » rating, which requires factory-level vacuum sealing and testing.
Why does your charging port fail before the screen and how to prevent it?
It’s one of the most common points of failure on any smartphone, often preceding the demise of the battery or screen. The charging port is the device’s lifeline, but it’s also one of its greatest vulnerabilities. The reason for its high failure rate is a simple matter of mechanical engineering: it’s one of the very few components on a modern phone that is subject to constant physical stress and wear. While your screen is a solid-state component that fails from impact, the charging port is a mechanical part enduring thousands of insertion and removal cycles, strain from the cable’s weight, and the accumulation of debris.
Mechanical Wear Analysis of Smartphone Charging Ports
In devices without impact damage, charging ports consistently rank among the first components to fail. This is because they are high-contact mechanical parts, unlike the solid-state screen. A typical port is rated for 1,500 to 10,000 insertion cycles. Combined with the constant physical stress from cable weight and the inevitable accumulation of pocket lint and dust, this mechanical wear and tear explains why their failure rate is significantly higher than that of display assemblies, which primarily fail due to electronic faults or physical shock.
The good news is that most port failures are preventable with a technician’s mindset of proactive care. Prevention starts with reducing the mechanical wear to zero. The single most effective strategy is using a high-quality magnetic charging cable. This system leaves a tiny magnetic tip inside the port, and the cable simply snaps on and off magnetically, eliminating insertion wear entirely. Beyond that, practicing good « port hygiene » is crucial. Every few months, power down the device and gently clean the port with a non-metallic tool like a wooden toothpick to remove compacted lint, which can prevent the cable from seating properly.
Finally, it’s important to understand the repair landscape for your specific device. On some phones, the charging port is on a separate, inexpensive daughterboard that is easy to replace. On others, it’s soldered directly to the main logic board, turning a simple fix into a job for a micro-soldering specialist. Checking a teardown on a site like iFixit *before* you have a problem can tell you whether a future port failure will be a minor inconvenience or a major expense. This knowledge itself is a powerful tool in extending your device’s lifecycle.
How to access the hidden diagnostic menu on your phone?
Before attempting any repair, a technician’s first step is always diagnosis. You can’t fix a problem if you don’t know exactly what’s broken. While some issues are obvious, many are not. Is the screen unresponsive because the display is dead, or is it a faulty touch digitizer, or a loose cable, or a software bug? Guessing is expensive and inefficient. Fortunately, most smartphones have hidden diagnostic menus built into their software, providing a powerful suite of tools to test hardware components systematically. These menus are used by factory workers and service center technicians, but they are often accessible to anyone who knows the right code.
Accessing these menus typically involves opening the phone’s dialer app and entering a specific sequence of numbers and symbols, often referred to as a « secret code » or USSD code. These codes vary by manufacturer and even by model. Once inside, you’ll find a no-frills interface that allows you to independently test functions like the screen’s color reproduction (checking for dead pixels), the touch sensor’s accuracy across the entire surface, speaker and microphone functionality, and the readings from various sensors like the accelerometer and gyroscope. Running these tests can help you confirm a hardware failure before you even pick up a screwdriver.
For example, if you suspect your screen’s touch sensor is faulty, the touch test will show a grid that you can « paint » with your finger. If there are dead spots on the grid, you’ve confirmed a hardware failure in the digitizer. If the whole grid works perfectly, the problem is likely software-related, and a factory reset might be a better first step than a costly screen replacement. Mastering these codes is a fundamental part of the technician’s toolkit, allowing for evidence-based repair rather than guesswork.
| Manufacturer | Diagnostic Code | Access Method | Key Tests Available |
|---|---|---|---|
| Samsung | *#0*# | Dial code in phone app | RGB screen test, touch sensitivity, speaker/vibration, sensors (accelerometer, gyroscope, proximity), camera, LED |
| Google Pixel | *#*#4636#*#* | Dial code in phone app | Phone information, battery stats, usage statistics, Wi-Fi information |
| Xiaomi / Redmi | *#*#64663#*#* | Dial code in phone app | Automatic and manual hardware tests including display, touch, audio, sensors, connectivity |
| OnePlus | *#808# | Dial code in phone app | Automatic test sequence for all hardware components, manual testing mode |
| Motorola | *#*#2486#*#* | Dial code in phone app | Device info, hardware tests, service mode |
| iPhone | Field Test Mode: *3001#12345#* | Dial code, press Call | Cellular signal strength (numerical), LTE/5G info, SIM status (diagnostic mode only, limited hardware tests) |
Key takeaways
- Longevity is an act of defiance against planned obsolescence, requiring both proactive care and the willingness to intervene.
- The right-to-repair is not just about fixing what’s broken; it’s about having the freedom and knowledge to maintain and upgrade your property.
- True sustainability in tech comes from extending a device’s usable life, a practice with a far greater environmental impact than recycling.
Extending Your Device’s Usable Lifecycle: How to Keep a Smartphone Running Like New for 4 Years?
The ultimate goal of the right-to-repair movement isn’t just to fix broken phones; it’s to fundamentally change our relationship with technology. It’s about shifting from a disposable mindset to one of stewardship and longevity. Keeping a smartphone not just functional, but running *well* for four, five, or even more years is entirely possible. It requires a strategic, multi-phase approach that combines physical maintenance, battery management, and, most critically, a plan for when the manufacturer decides your device is obsolete.
The environmental case for this is staggering. The vast majority of a smartphone’s lifetime carbon footprint is generated during manufacturing. Extending a device’s life is the single most effective way to reduce its environmental impact. In fact, comprehensive research by Microsoft found that repairing a product creates 89% reduced greenhouse gas emissions compared to replacing it. Every extra year of use from your current device is a direct and significant win for the planet—and your wallet.
A four-year lifecycle can be broken down into phases. The first two years are the Protection Phase, focusing on preventive care: a good case, a screen protector, and optimal charging habits (keeping the battery between 20-80%). Around the two-year mark, you enter the Intervention Phase. This is when the battery capacity will likely drop below 80%, signaling it’s time for a replacement. This is the first major DIY intervention. The third and most crucial phase is the Software Transition. This is when manufacturers typically stop providing security updates, a practice known as « software obsolescence. » When official support ends, you can take control by installing a custom ROM (a community-developed version of Android) like LineageOS or CalyxOS. This single act can extend your phone’s secure, usable life by another two to three years, effectively doubling it. This is the final and most powerful expression of the right to repair: seizing control of your device’s software to grant it a new lease on life.
By adopting this technician’s mindset, you move from being a passive consumer to an empowered owner. You can break the cycle of forced upgrades, save significant money, and make a real environmental difference. Start today by diagnosing your device’s health, researching its repairability, and planning for its long and useful future.